 What do all these numbers actually mean?]]>
Diablo 4 is a game with a lot of stats. In fact, I’d even go so far as to say that this game is all about stats beneath all the swords, sorcery, blood, guts, and petals. So it’s useful, but also difficult, to understand what they all mean.
The stats tab on your character screen divides stats into six categories: Currency, Core Stats, Offensive, Defensive, Utility, and PvP. But there are also item stats to be considered. There are in-game explanations for every individual stat, but for the purposes of this guide, I’m going to focus on the core stats, character stats, and item stats because those are the ones that apply to every character in every situation.
]]> Pony Points mean pony prizes!]]>
Pony Points are a loyalty program for all the stables in The Legend of Zelda: Tears of the Kingdom. The more you “shop” with the stables, the more Pony Points you earn on your Pony Points Card, and those points can be converted into increasingly valuable rewards.
So, how exactly do you get more Pony Points, and are the rewards worth it?
]]> Skill slots in Diablo 4 are limited, so make the most of your abilities. ]]>
Skill slots (or Ability slots, as the game calls them) are really important in Diablo 4. There are a lot of skills and abilities in Diablo 4, and it can sometimes feel like you don’t have enough skill slots, especially early in the game.
Thankfully, there are ways to unlock more, but only in the early stages of the leveling experience. If you’re expecting to have a wide-ranging hotbar with countless ability slots, you’re likely going to be out of luck.
]]> Resource Generation is a key aspect of Diablo 4, something that all players should know and perfect when it comes to endgame content regardless of class.]]>
Primary Resource is one of several terms that Diablo 4 likes to use liberally without actually ever spelling out what it means. Along with Resource Generation and Primary Resource Cost Reduction, you’ll see it in the descriptions of abilities, skills, and items.
When you see these references to Resource, you might be left scratching your head. At first, I thought it must be something to do with gathering materials for upgrading weapons. Because, you know, “resource” is another word for “material.” But it’s not in this case. It’s actually pretty simple: The confusing thing is just that Resource is a general term for something the game more often refers to by other, more specific names.
]]> The giant mole monster can be defeated.]]>
In Zelda: Echoes of Wisdom, Mogryph is the boss of the Gerudo Sanctum section of the game, and defeating it completes the “A Rift in the Gerudo Desert” main story quest. Beating Mogryph isn’t so difficult when you know how.
Not long after you’ve brought two tributes to the golden door in Gerudo Sanctum, you’ll find the Big Key and use it to unlock an even grander golden door. Don’t go through that door until you’ve got the hard-to-get chest, though. Beyond it is a large, sandy-floored chamber with nothing in it (at first) except one of each of the statues you’ll have seen elsewhere in Gerudo Sanctum: Elephant, Hawk, Cat, and Snake.
]]>In Zelda: Echoes of Wisdom, there are many chests in Gerudo Sanctum, most of which are fairly easy to find and reach. But on 2F, there’s one on the far side of a wall that appears to be unreachable. Getting to this chest requires a bit of patience and ingenuity.
When you enter the east side of the Gerudo Sanctum 2F chamber in Zelda: Echoes of Wisdom, you can clearly see a chest, six pots, and a square of sand on the west side of the chamber. But the wall that divides the chamber in half goes right to the ceiling and is totally impenetrable. What you can’t see is the ceiling above the chest, part of which is also made of sand. But I’m here to tell you that you can’t get to the chest until a little later, so stop messing around with Echoes and head through the doorway in the south wall.
]]> This Mango Rush prize has a specific purpose.]]>
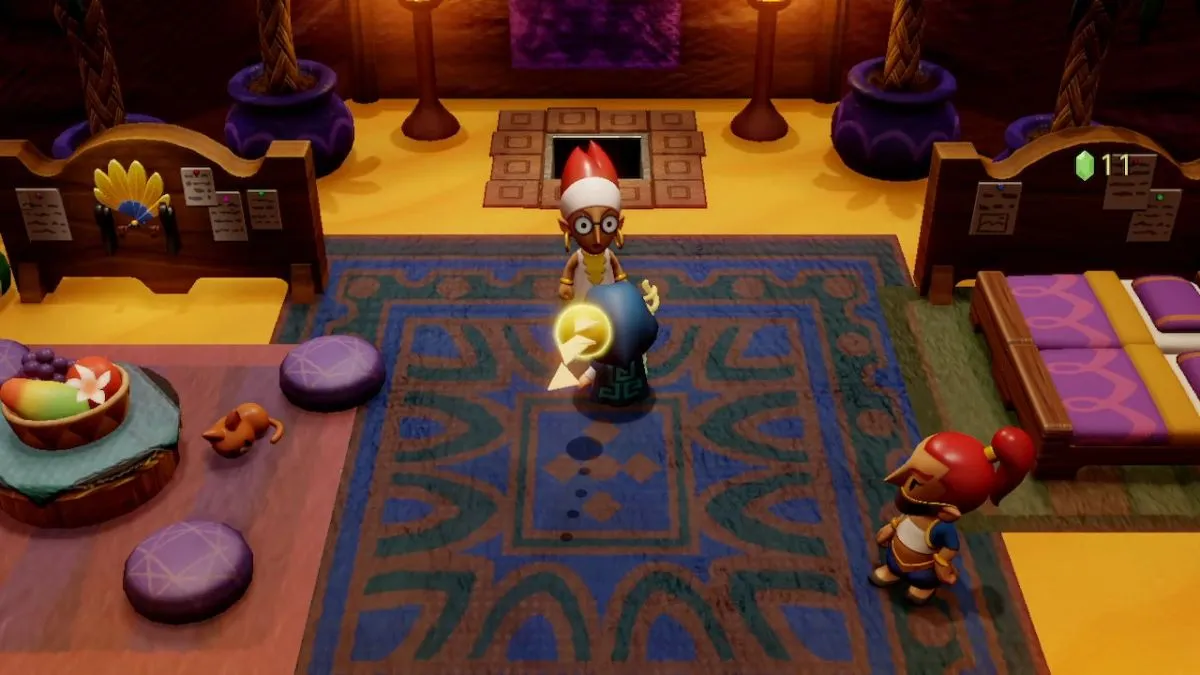
The Golden Fan is a unique item in Zelda: Echoes of Wisdom, obtained by completing the second round of the Mango Rush mini-game. Its description tells you what it looks and feels like but not what it does. So, what is the purpose of the Golden Fan?
If you check the Golden Fan in the items tab of your inventory, you’ll see the following description:
]]> Every hidden Heating tech revealed and detailed.]]>
The Frostpunk 2 tech tree (or officially, the Idea Tree) features a total of 142 Ideas spread across six tabs. At the start of each campaign, the Ideas on the outer branches of the tree are hidden. This guide lists every idea on the Heating tab, including the hidden ones.
Ideas relating to Heating are among the most important in Frostpunk 2, as you’d expect from a game that takes place during an ice age. This tab is where you’ll find technologies that allow you to upgrade your generator, to use Heat more efficiently, and to extract fuel deposits at higher rates.
]]> Workers of the Frostlands, unite!]]>
In Frostpunk 2, a settlement’s Workforce is the share of its overall population who can work in districts and buildings or as Frostbreakers. It’s important to understand how to increase and redistribute your Workforce, as well as how to decrease absences so that your Workforce can actually work.
Before you can Frostbreak or build any new district or building in Frostpunk 2, you need to have enough Workforce to complete the task or to staff the district or building. Frostbreakers return to your Workforce pool when their job is complete, but districts and buildings need Workforce to be permanently assigned to them to produce resources and other benefits.
]]> Exactly how does Population Growth work?]]>
In Frostpunk 2, each settlement’s population represents the number of people living in that settlement. Increasing population increases the Workforce available to you, but also increases demand for all resources. On balance, though, increasing your population is a positive thing.
There are two main ways to increase the population of a settlement in Frostpunk 2. Firstly, it happens naturally so long as your Population Growth isn’t stagnant. And secondly, you can find Frostland Dwellers out in the Frostlands and invite them to live in your city. You can also transfer population from one settlement to another, but this decreases the population in the source settlement, so doesn’t increase your overall population.
]]>
