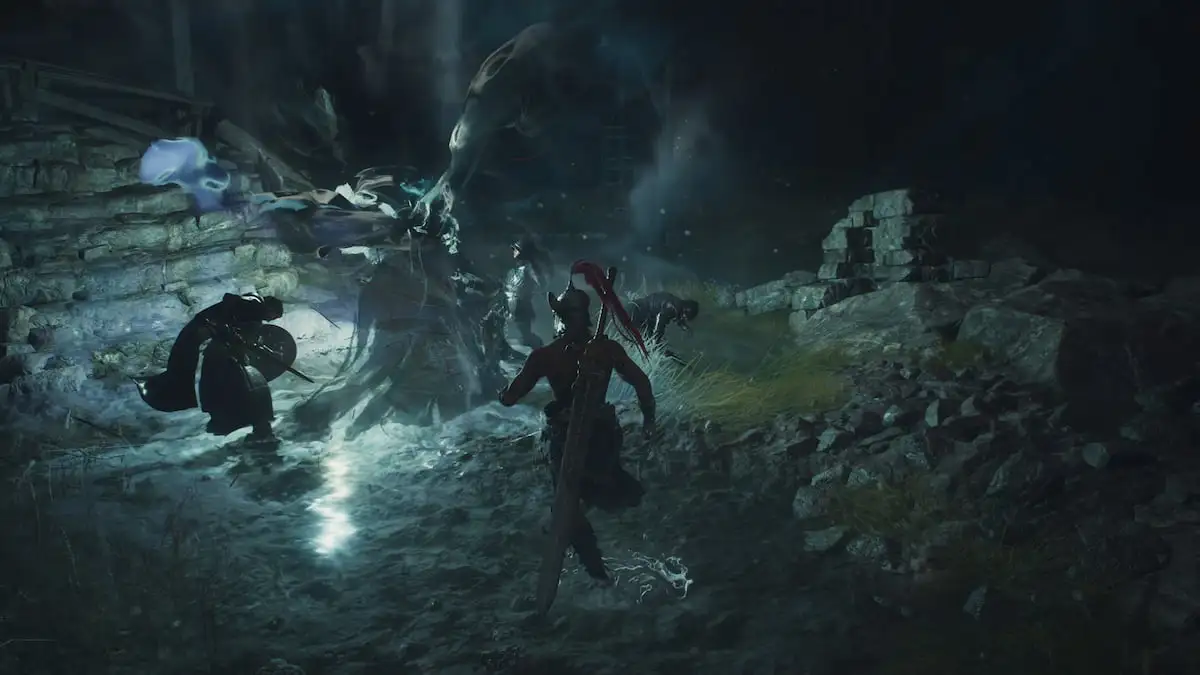
 She's a hater, gatekeeper, god's favorite princess, and the most interesting girl in the world; here's the best build for Shadowheart in Baldur's Gate 3.]]>
Few companions in Baldur’s Gate 3 are as popular as Shadowheart. If you’re infatuated by the mystical High Elf, you’ll want to turn her into the most powerful version of herself, which means you’ll want the best Shadowheart build in BG3.
You’re in the right place! Keeping Shadowheart at the top of her game will also keep you alive for longer. And if you get the build right, the Cleric will also become a formidable damage dealer. Let’s get into the details of the best Shadowheart build in BG3.
]]> There are more than 20 to collect.]]>
The pixel-art gacha game Sword of Convallaria has brought more than 20 Legendary characters for players to collect and use in their strategies when completing stages in the Fool’s Journey. Every player starts with Maitha, and can get more characters through summoning.
How characters work in Sword of Convallaria

You’ll notice that you can’t use your characters while playing the Spiral of Destinies mode, only in the Fool’s Journey and Crossing Worlds modes. When in the Fool’s Journey’s Elysium, you can collect the characters you meet in the Spiral of Destinies, and one won’t affect the other. You won’t have a bigger chance to get a character while summoning if you already met them in Spiral of Destinies.
]]>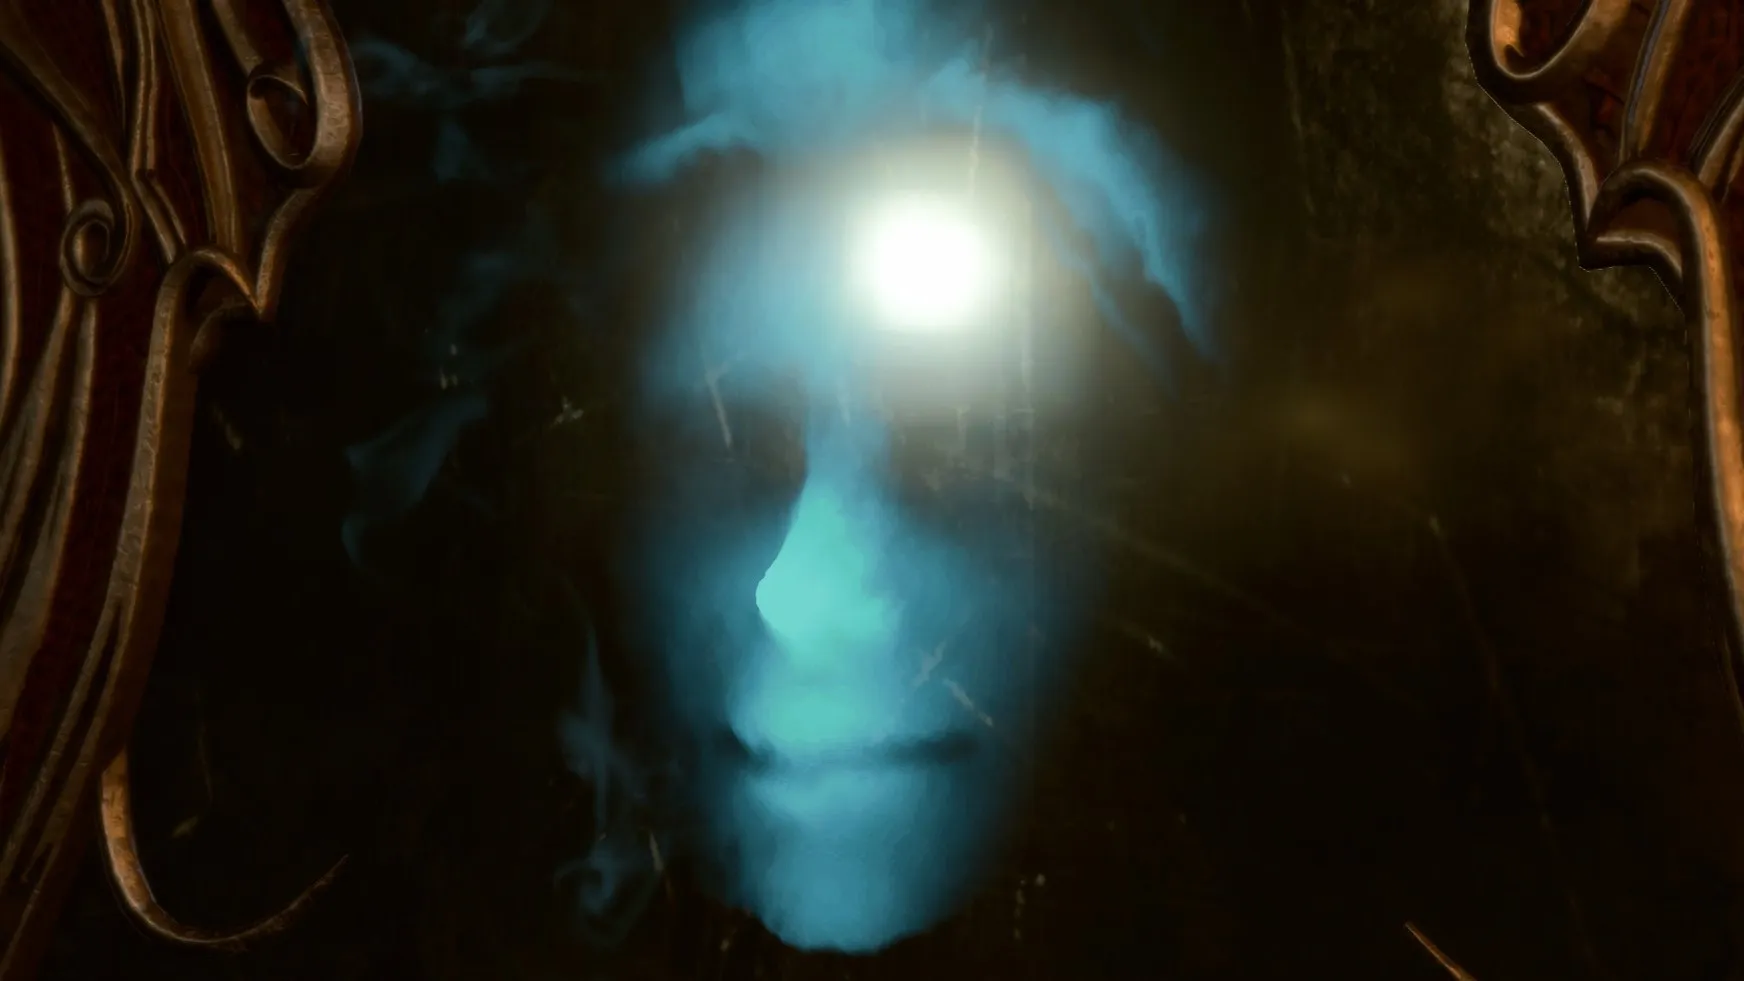 Here's a breakdown on the Ornate Mirror's location and possible answers in Baldur's Gate 3.]]>
In BG3, the Ornate Mirror is a Magic Mirror found in a hidden room in the Apothecary’s Cellar in the Blighted Village.
The mirror asks you five questions, which you must answer correctly to gain access to another room with plenty of loot, including The Necromancy of Thay.
]]>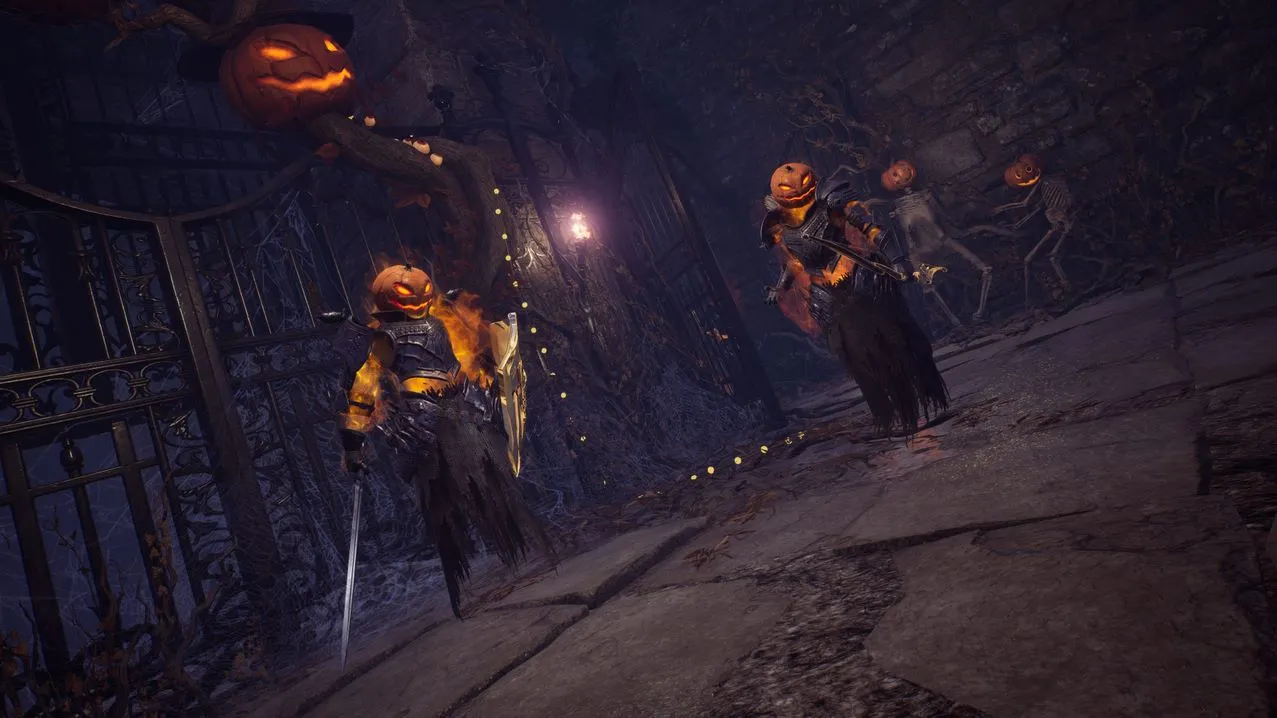 From map puzzles to boss mechanics, here's what to expect going into the Haunted Labyrinth Halloween event dungeon in Throne and Liberty.]]>
The spooky season is upon us, and Throne and Liberty is celebrating with the addition of the Haunted Labyrinth as a new level 50 dungeon packaged into its seasonal event.
While you won’t be getting any gear drops or the other usual dungeon loot from the Haunted Labyrinth, it comes with tons of seasonal rewards and is the only source of the event currency used to buy exclusive items from the event vendor—here’s a rundown on what to expect in the Haunted Labyrinth in Throne and Liberty.
]]> Not everything can be solved with brute force.]]>
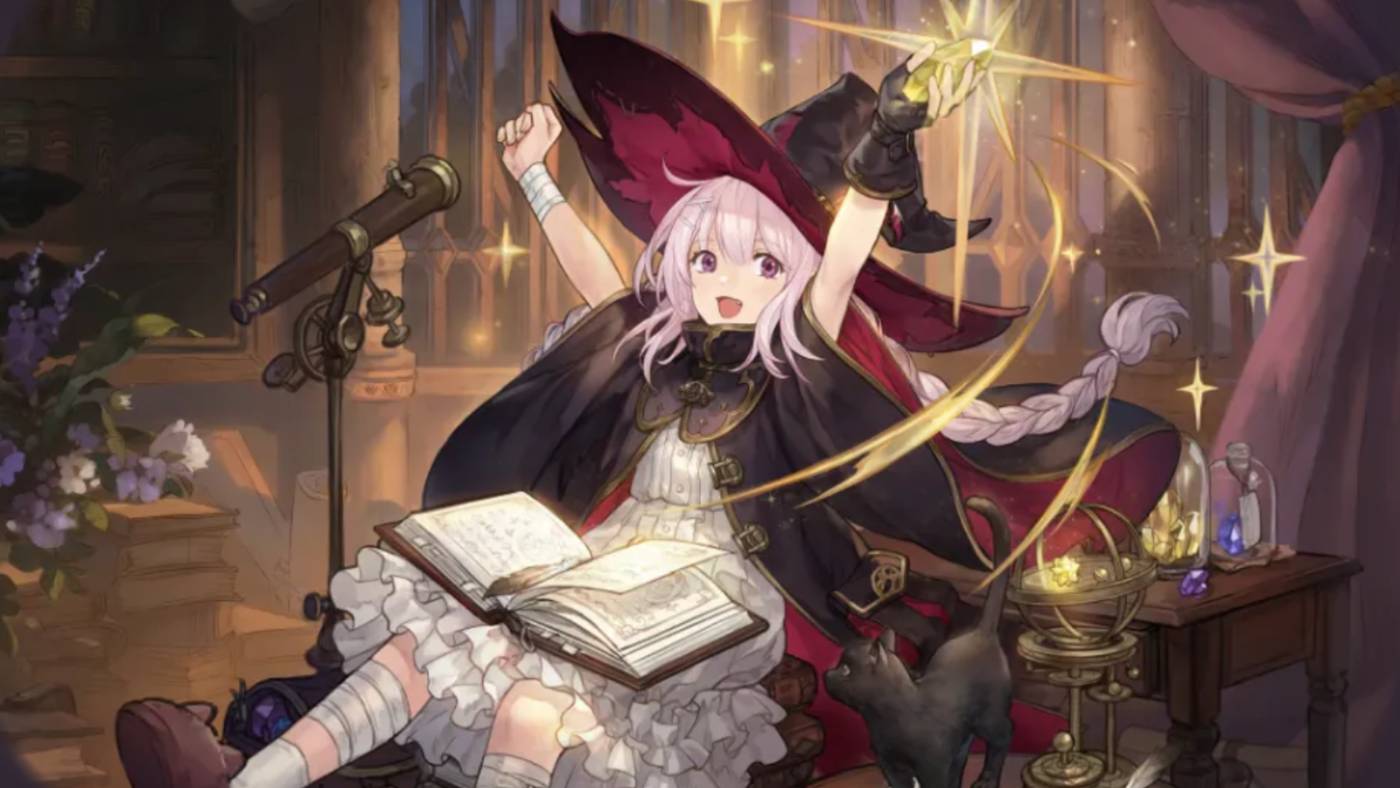
While you can cheese most Fool’s Journey stages in Sword of Convallaria with fully upgraded characters and gear, some extra stages force you to use stock units to solve tactical puzzles. 4-13-1 and 4-13-2 in particular are head-scratchers that’ll leave you using up all your backtrack points to figure it out.
Tired of trying to save those civilians without your carefully curated roster of overpowered characters to help? The solution is simpler than you might think—here’s how to solve Fool’s Journey 4-13-1 and 4-13-2 in Sword of Convallaria.
]]> Vitalstones are the only way to heal the wounds on the Gigantrite in Throne and Liberty. Here’s where they drop and the best way to get your hands on them.]]>
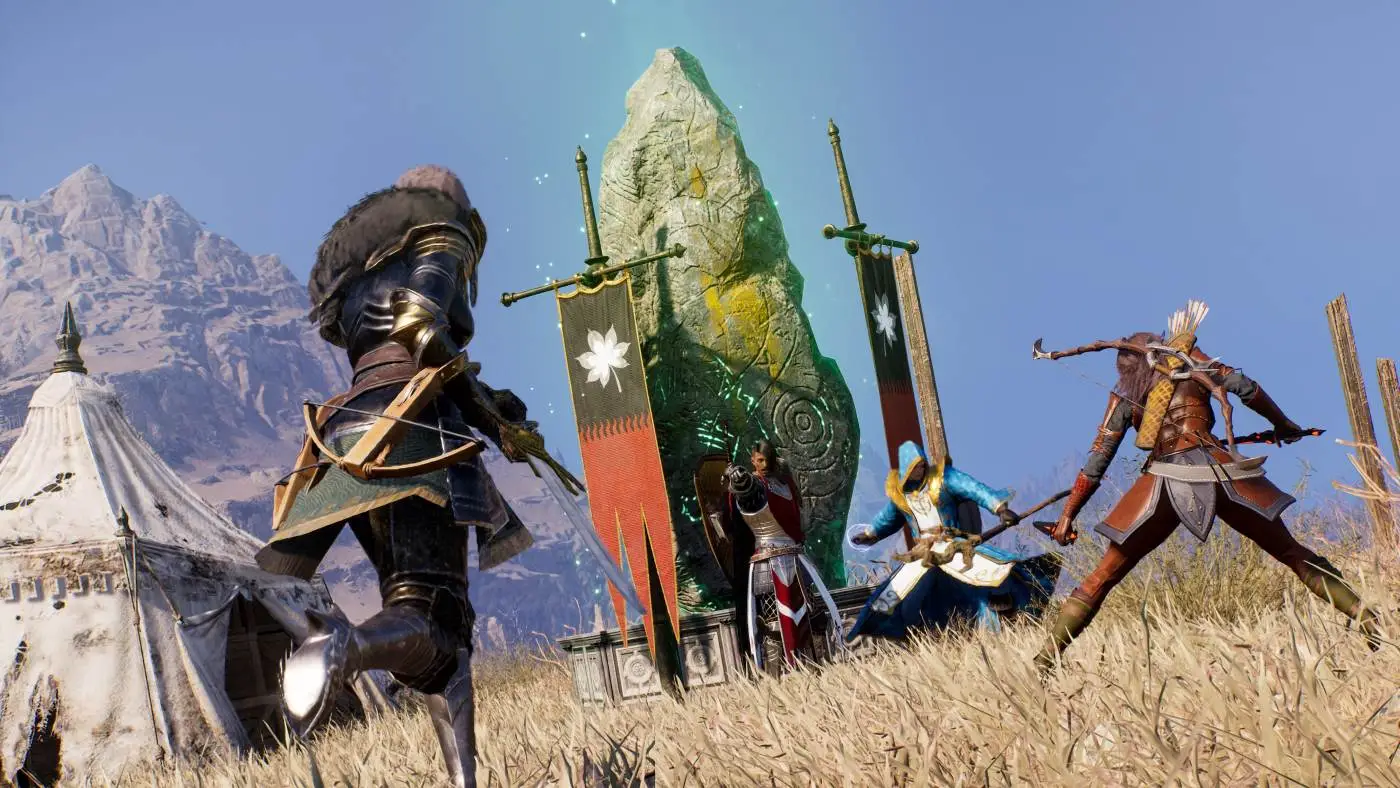
Hopping onto the Gigantrite to follow along on her route across Solisium is one of the more calming and scenic activities to do in Throne and Liberty—but if you’ve ever gotten a ride on the skyward whale express, you might have noticed certain nodes that allegedly require Vitalstone.
In true Throne and Liberty fashion, it’s somewhat difficult to get much in-game info on what Vitalstone even is, much less where to get it and what it does. If you’re wondering about these strange nodes after getting on the Gigantrite to mine Marind or complete the Little Friend in the Sky quest, here’s all you need to know about what Vitalstone is, where to get it, and how to use it in Throne and Liberty.
]]> It’s just not an MMO if you can’t play with friends. Here’s how to add friends and get around the friend request bug in Throne and Liberty.]]>
Like any good MMO, Throne and Liberty’s real draw is the opportunity to have a robust social experience in a fantasy world, from cultivating a unique character, joining guilds, defeating co-op dungeons, and of course, adding and keeping up with friends.
Admittedly, the friend system in Throne and Liberty is a little more bare-bones than some other MMOs out there. Not to mention, it can be buggy and non-functional at times. Trying to add a friend while exploring Solisium together? Here’s all the ways to group up with and keep tracks of friends in Throne and Liberty.
]]> Meta isn't everything, but Sword of Convallaria has some clear winners. ]]>
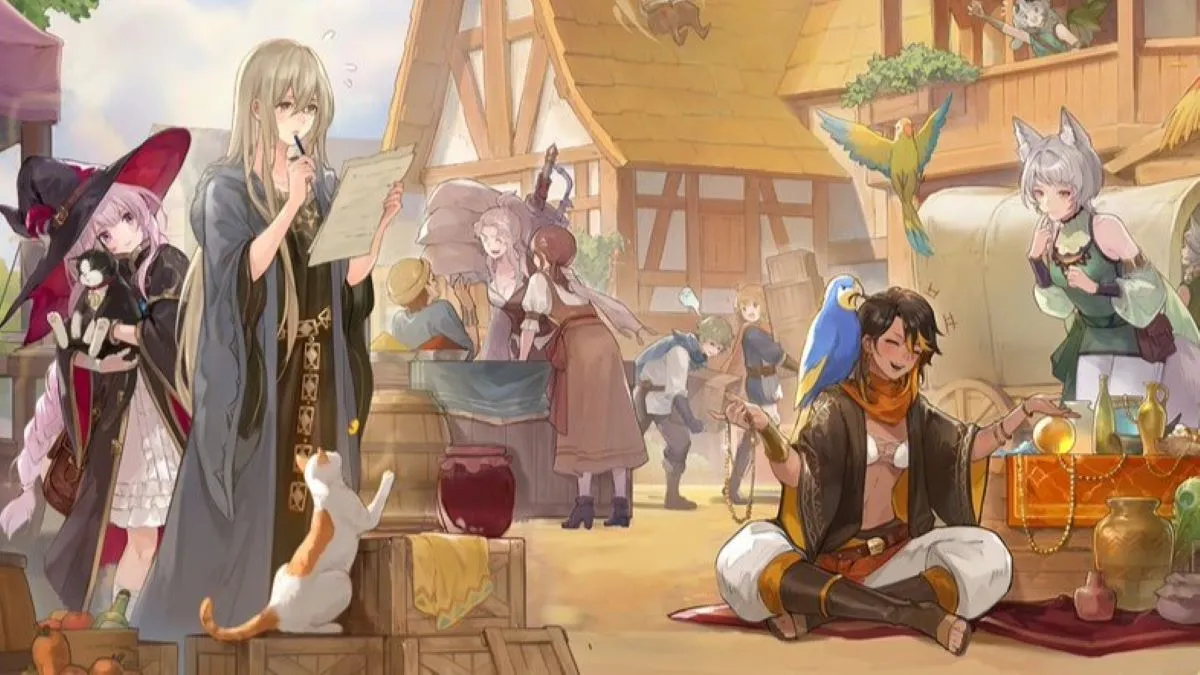
As one of the most faithful spiritual successors to Final Fantasy Tactics, Sword of Convallaria comes with a robust cast of characters that offer a myriad of tactical approaches and strategies.
While every unit has something unique to offer, some stand above the rest—here’s our tier list for all the Legendary units in Sword of Convallaria.
]]> Introducing the People's Princess, Inanna Zenobia Saleh of Iria.]]>
While she’s the resident damsel in distress of Sword of Convallaria’s main story, Princess Inanna of Iria is anything but a wilting wallflower on the battlefield—with the right build, she quickly becomes an absolutely indispensable unit on your roster.
Of all the characters currently available in Sword of Convallaria, she is the singular most powerful healer (and will remain so until Taair arrives on global servers to share the top spot with her). Despite having less raw healing power than Samantha, her almost universal support synergy with other characters puts her at the top of a vast majority of character tier lists you’ll find. Unsurprisingly, she’s considered a priority unit to watch out for when you’re re-rolling your roster for the best starting units.
]]> Anger issues? Turn them into cash with a nice vandalism job.]]>
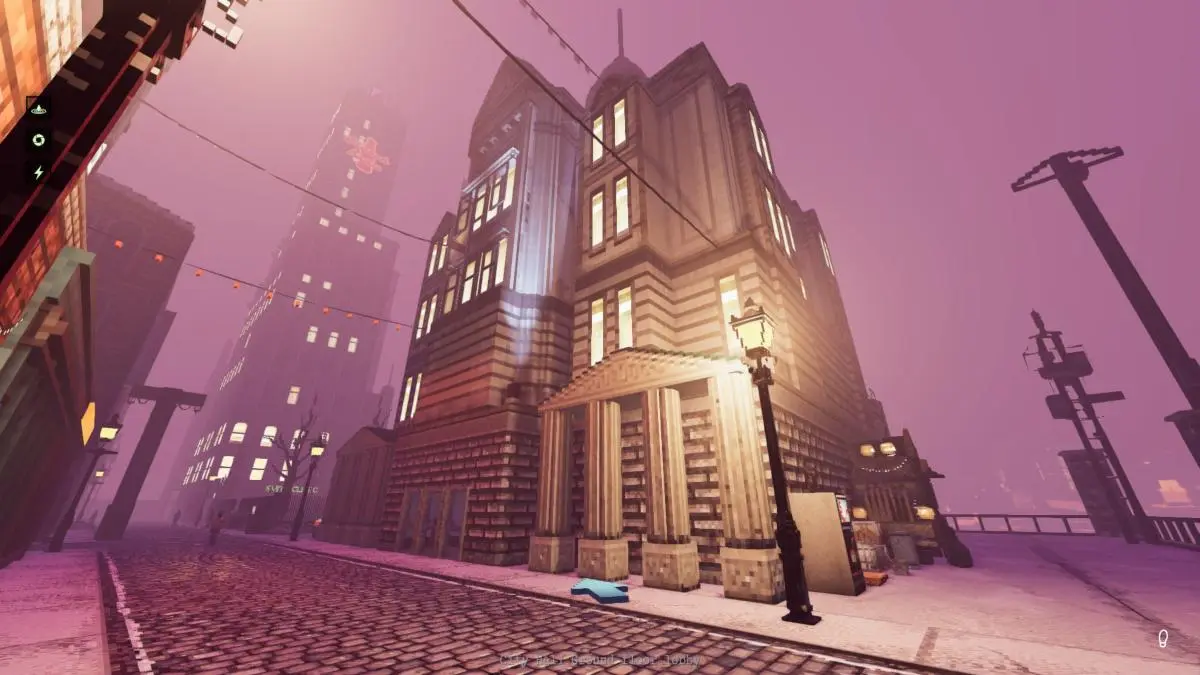
Getting paid to commit crimes would technically make you more of a mercenary than a private detective—but anything goes in the dystopian world of Shadows of Doubt, and vandalism is a frequently appearing job that can pay very handsomely.
Ironically, vandalism is also one of the more finicky jobs to properly complete because of all the conditions you must meet for your actions to count. Stuck on trying to hand in a vandalism case even though you’ve got the right guy? Here’s all you need to know about completing vandalism jobs in Shadows of Doubt.
]]>
