{"id":1188724,"date":"2024-04-05T00:04:08","date_gmt":"2024-04-05T05:04:08","guid":{"rendered":"https:\/\/dotesports.com\/?p=1188724"},"modified":"2024-04-05T00:04:10","modified_gmt":"2024-04-05T05:04:10","slug":"dragons-dogma-2-unmoored-world-guide-all-missions-bosses-and-key-locations","status":"publish","type":"post","link":"https:\/\/dotesports.com\/dragons-dogma\/news\/dragons-dogma-2-unmoored-world-guide-all-missions-bosses-and-key-locations","title":{"rendered":"Dragon’s Dogma 2 Unmoored World guide: All missions, bosses, and key locations"},"content":{"rendered":"
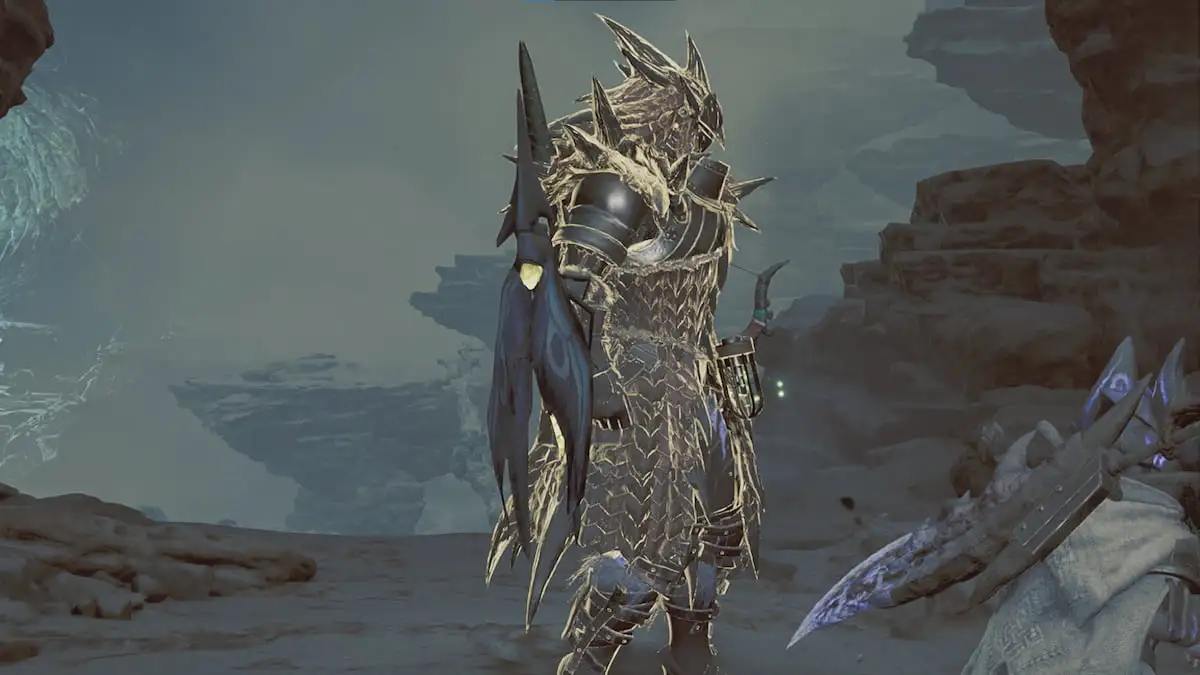
The Unmoored World in Dragon’s Dogma 2<\/em> is one of the most stressful endgames in any modern game. Don’t be frightened though\u2014there’s less to do here than one might think. Let’s go over everything there is to know about the Unmoored World.<\/p>
The Unmoored World<\/a> is the final step of Dragon’s Dogma 2<\/a><\/em> and is part of the true ending<\/a>. This is basically a copy-paste of the original map, but there’s now harder enemies and a hard timer. Parts of the world disappear when you rest, so be ready to use Wakestones and Allheal Elixirs to heal yourself\u2014and the Brine to heal your Pawns.<\/p>


